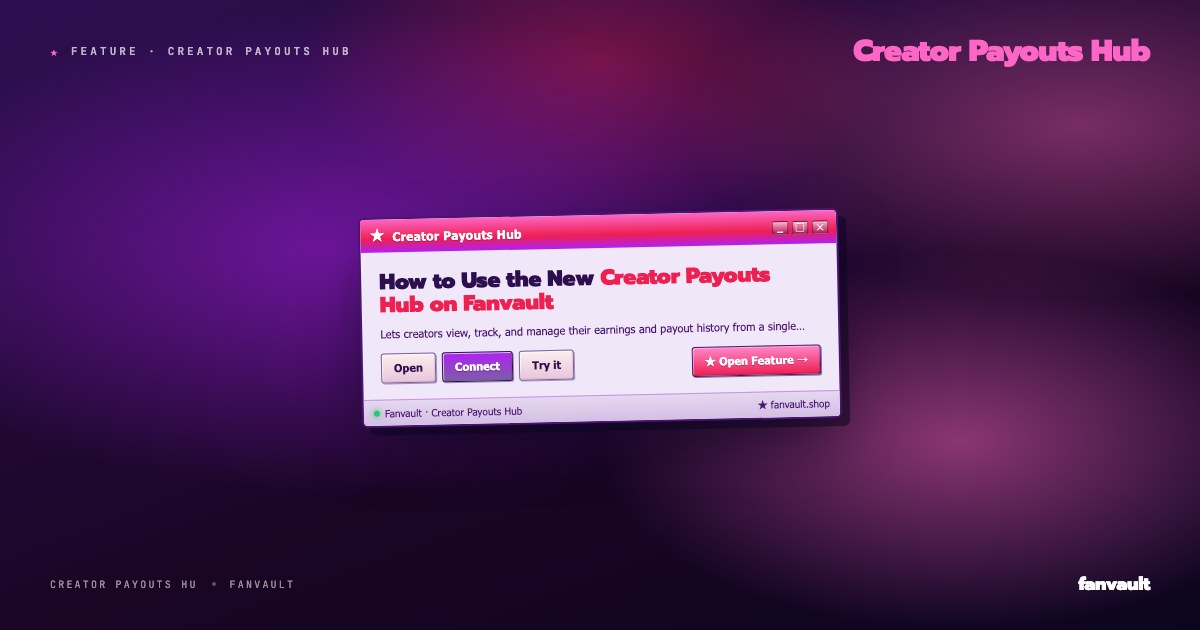
The Fanvault Creator Payouts Hub is the dashboard creators use to view, manage, and withdraw earnings from auctions, drops, tips, paid DMs, and subscriptions in one place. The recent overhaul replaces a scatter of per-source screens with a single command center so you can see what you've made, what's pending, and what's ready to hit your bank, without leaving your storefront. Here's how to use it.
⚡ Key Takeaways
- The Payouts Hub centralizes lifetime earnings, pending balance, and revenue-by-source in one dashboard.
- Filter by auctions, drops, subs, tips, paid DMs, or wishlist, then drill into any transaction.
- Auto-payouts run weekly, or trigger an on-demand withdrawal that lands in 1 to 2 business days.
- Stripe Connect handles the underlying transfer, using the bank you verified at onboarding.
- Export a CSV for any date range, with gross, 8% platform fee, processing fee, and net on every row.
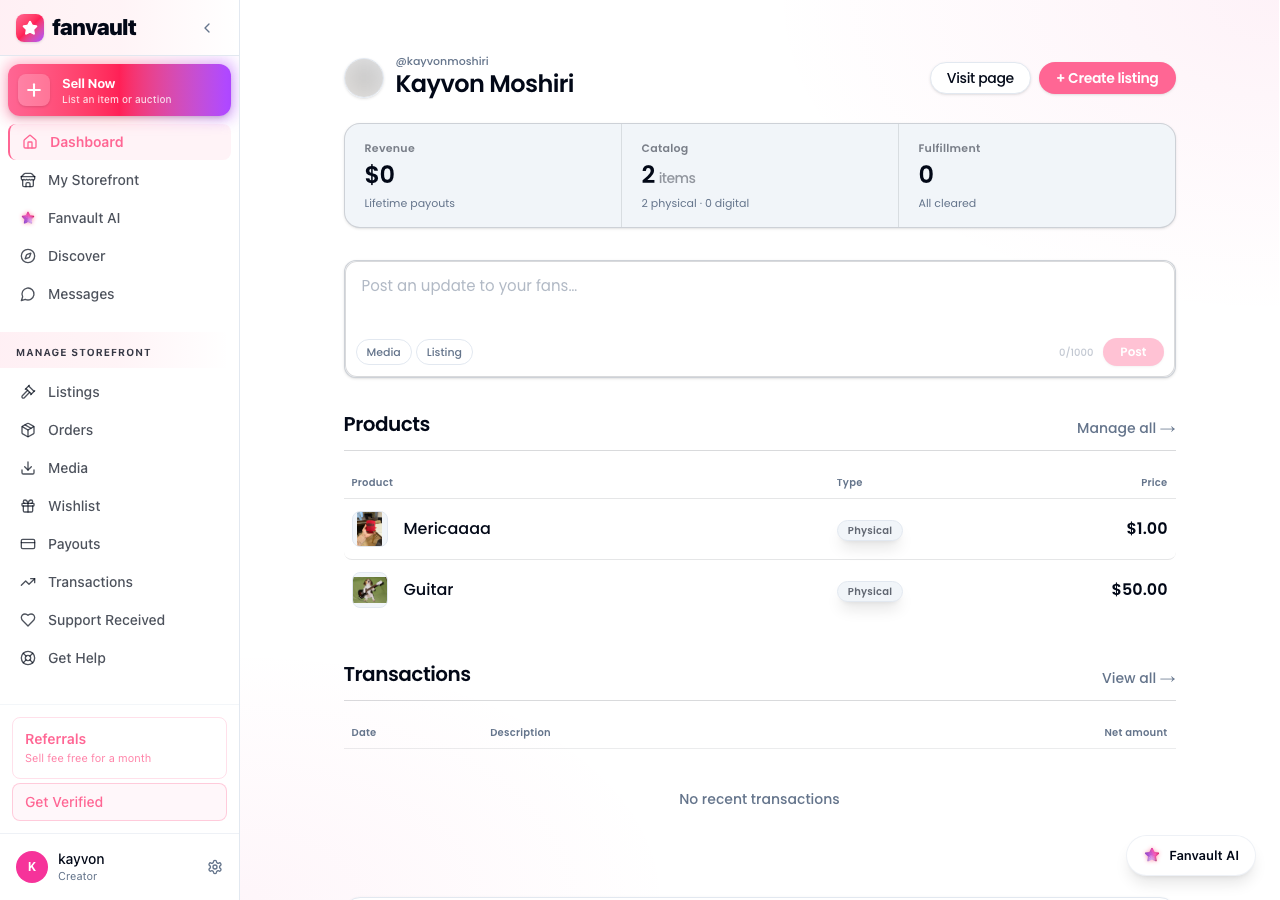
What does the Payouts Hub actually show?
At the top, you get a lifetime earnings total alongside this month's gross, your pending balance, and the next scheduled payout date. Below that, a breakdown card splits revenue by source so you can tell at a glance whether last week's bump came from a memorabilia auction, a buy-it-now drop, a flurry of tips, or recurring subs.
Because Fanvault keeps the platform fee at a flat 8%, the gross and net numbers stay easy to reason about. What you see is what lands, minus the standard Stripe processing fee on the transaction itself.
How do I open it?
From your creator dashboard, open the left sidebar and click Payouts under the Selling section. The hub loads in under a second. If it's your first time, Fanvault will prompt you to confirm your Stripe Connect account is verified before any balance is shown, this is the same identity check you completed during onboarding, so most creators land directly on the overview.
How do I track earnings by source?
Use the source filter at the top of the breakdown card. You can isolate auctions, drops, subscriptions, tips, paid DMs, or wishlist purchases, then narrow further by date range. The chart redraws instantly, and the table beneath updates to show every transaction in that slice, with buyer username, item, gross, fee, and net.
Two tips. First, the source filter is sticky inside the session, so if you're prepping a weekly recap you can flip between drops and auctions without resetting the date. Second, every row is clickable. Tapping a transaction opens the full order detail, useful when a fan asks where their package is and you want shipping status in one tab.
How do I withdraw to my bank?
Hit the Withdraw button in the top right. Fanvault uses Stripe Connect under the hood, so payouts go to whatever bank account you verified during creator onboarding. You can choose between the default weekly auto-payout schedule or an on-demand withdrawal. On-demand lands in 1 to 2 business days for U.S. accounts, longer for some of the 24 international markets Fanvault serves at launch.
If you need to add a second bank account, or rotate the existing one, use Manage Payout Method. The form re-runs Stripe's verification flow in a side panel, and your previous schedule resumes the moment the new account is confirmed.
How do I export my history for taxes?
Click Export at the top right of the transactions table. You can pull a CSV for any custom date range, with one row per transaction and columns for gross, platform fee, processing fee, and net. Fanvault retains your full history, so year-end reconciliation no longer means stitching together monthly emails.
What does this unlock for you as a creator?
The point of the new hub is to give you the same financial visibility a small business owner has, without forcing you to wire up a spreadsheet on the side. You can see which revenue source is actually growing, decide where to spend your next hour of content time, and pull cash out the moment a campaign hits. That's the kind of clarity Fanvault was built to give creators from day one, and the Payouts Hub is where it shows up most directly.
Frequently Asked Questions
How long does an on-demand payout take to reach my bank?
For verified U.S. Stripe Connect accounts, on-demand payouts typically arrive in 1 to 2 business days after you click Withdraw. International accounts in the 24 markets Fanvault supports at launch can take a few days longer, depending on local banking rails. The Payouts Hub shows the expected landing date the moment you submit the request, so you always know when to look for it.
What fee does Fanvault take from each payout?
Fanvault takes a flat 8% platform fee per transaction, which means creators keep 92% of every sale before payment processing. That fee is already reflected in the net column inside the Payouts Hub, so when you withdraw, you're moving the net balance, not the gross. Standard Stripe processing fees on the original purchase are also itemized per transaction, so the math is transparent.
Can I see auction earnings separately from subscription earnings?
Yes. The breakdown card on the overview screen splits revenue by source: auctions, buy-it-now drops, subscriptions, tips, paid DMs, and wishlist purchases. Use the source filter to isolate one stream and the date range selector to zoom into any window. The transactions table beneath the chart updates instantly to match, so you can copy specific rows into a recap or tax document.
What if I need to change the bank account my payouts go to?
Use Manage Payout Method inside the Payouts Hub. Fanvault re-runs Stripe's identity and account verification in a side panel, since payouts run on Stripe Connect. Once your new account is confirmed, your existing schedule resumes automatically and the next payout uses the updated destination. You can also keep a backup account on file if you split income between checking and a business account.